
I can’t be the only one who finds it so interesting to see how our bodies change during pregnancy! Ever since I got pregnant, I knew I wanted to document it with weekly belly photos! Today I am going to share how I edit my photos to create this fun collage! Here is my weeks 5 – 26 progression (with a couple weeks missing due to bad lighting making the photos not turn out). See below for a tutorial on how to edit these (without Photoshop).

I use a website called Pixlr to erase the background from my photos. Here is a step by step guide on how to do it yourself! It seems like a lot of work at first, but once you get the hang of it, it’s pretty quick and easy!
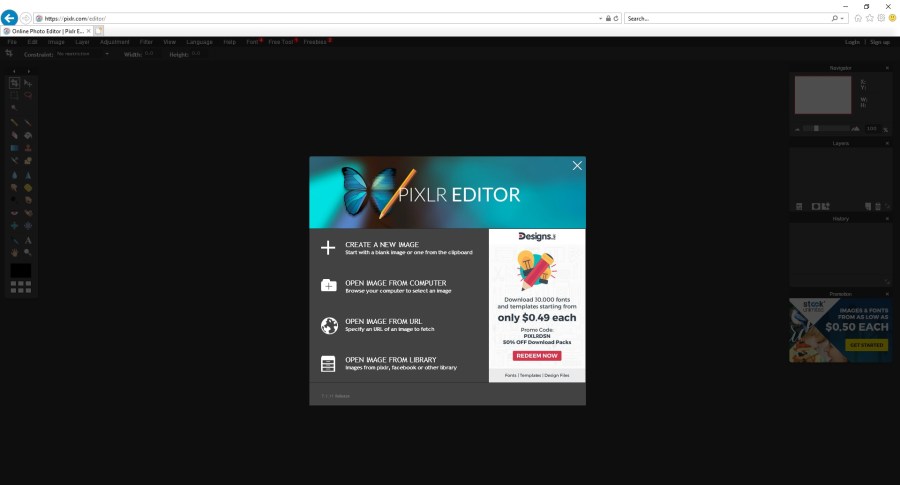
Click on ‘Open Image from Computer’ and open the photo you want to edit.

I take my weekly photos in the same place every week and try and take them around the same time of day so the lighting is somewhat similar in each photo. Obviously this depends on the weather and the lighting will vary, but do your best to make them as similar as possible so your collage will match!
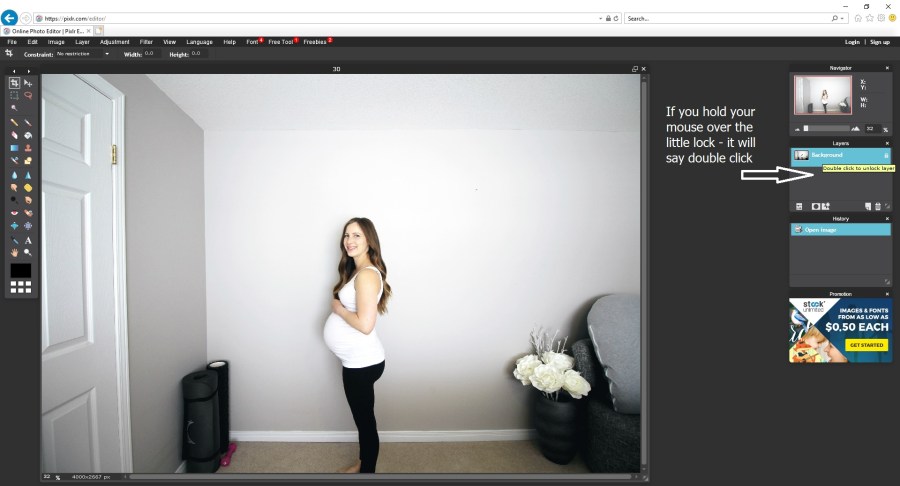
Double click on the little lock beside ‘Background’ to the right of the page.

By doing this, it should rename your photo to ‘Layer 0’ and you should see a check mark beside it.
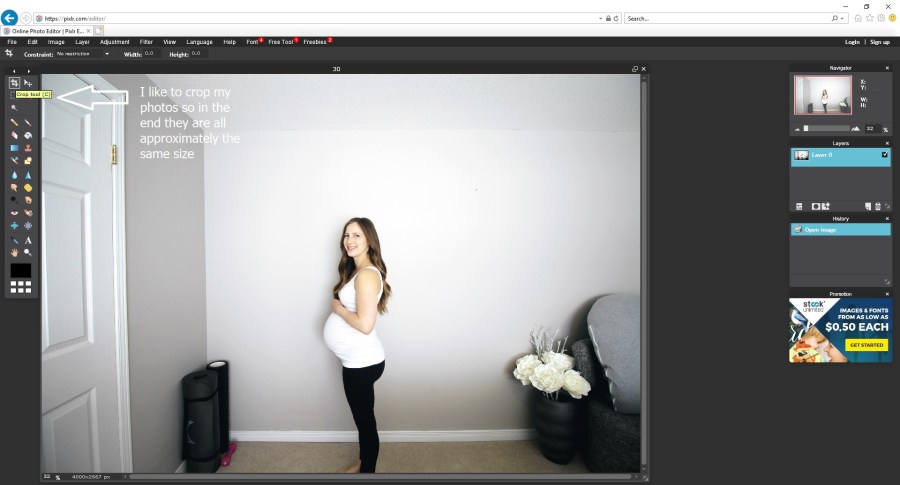

Now you can crop your photo to whatever size you prefer. I crop all of mine the same size to keep everything the same. Once you click on the crop tool, you can change the size of your crop by choosing ‘Output Size’ and entering your own numbers below the tool bar.
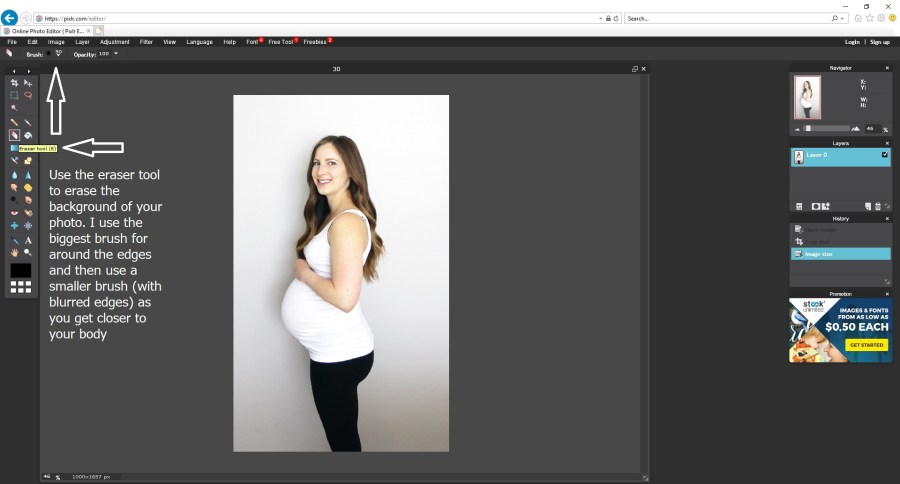
Once you have cropped your photo to a size you are happy with, you can begin erasing your background. You can choose your brush size depending on which area of your photo you are erasing. I use the biggest brush size to erase the outer edges and then choose a smaller brush (usually with blurred edges) as I get closer to my body.
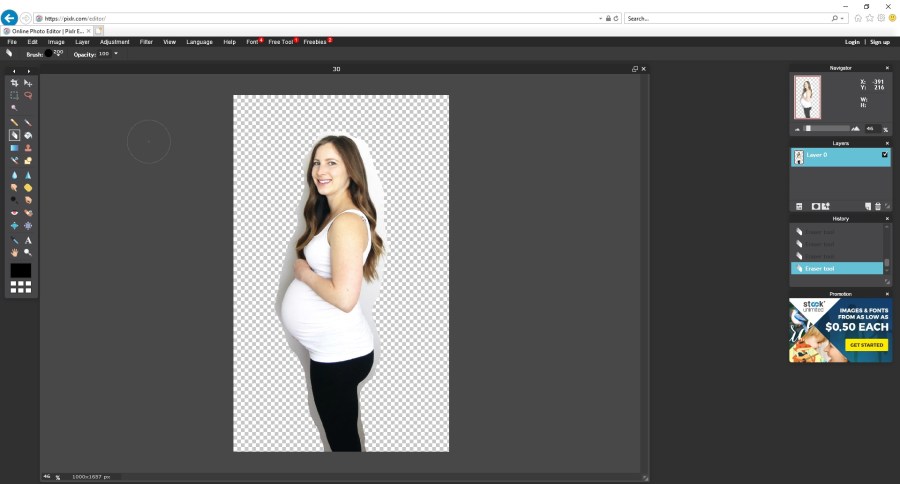

This is what your photo should look like when you are finished.
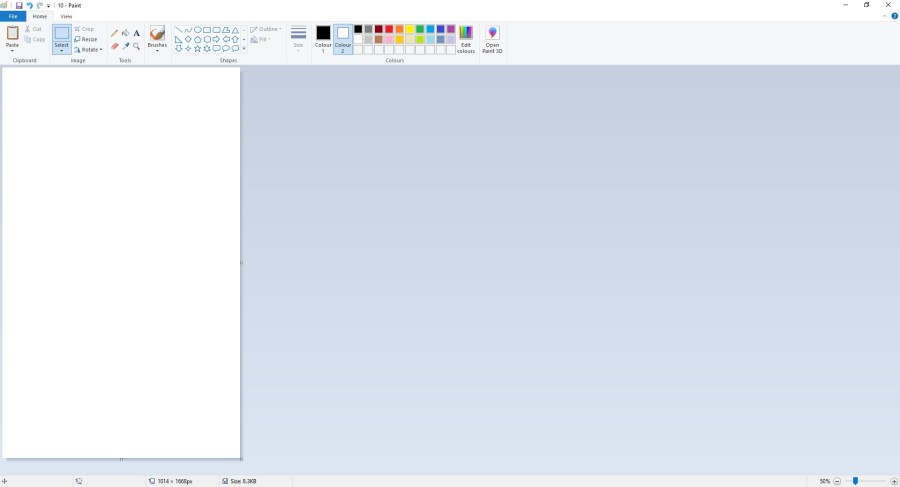
For the next step, all I do is save a blank white screen in Microsoft Paint (the same size that you cropped your photo)
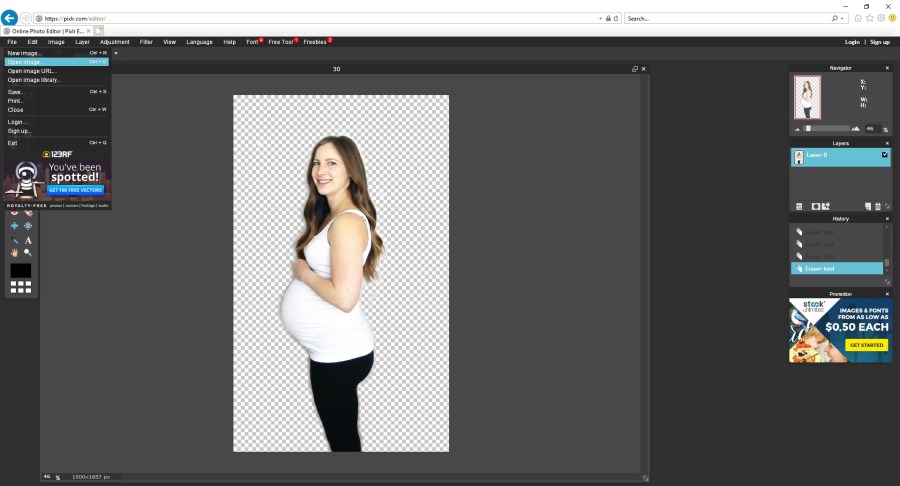

Next, click File… Open Image… and open the blank white screen that you saved. It should open in a new window and look something like above.
If you click on where it says ‘Background’ to the right of the page, you can drag it over top of your photo.
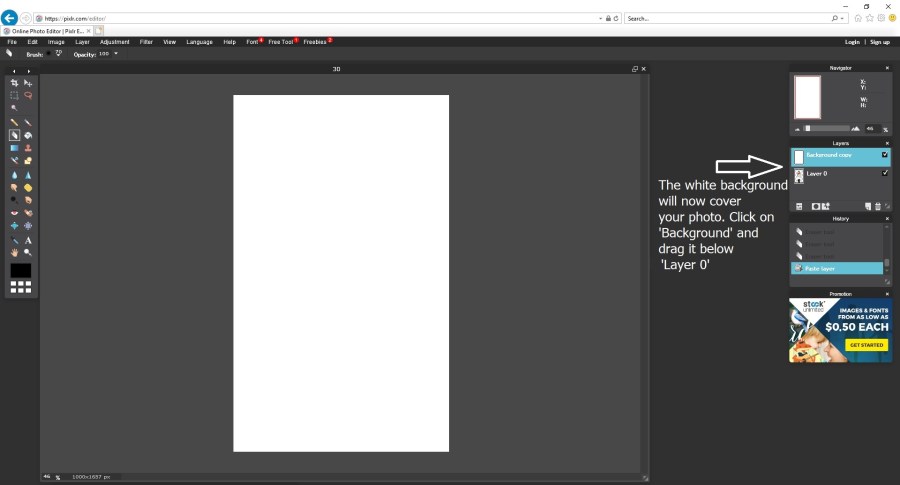
Now your white background should be covering your photo. To have your photo show through, drag ‘Background’ below ‘Layer 0’.

TA-DA! How easy is that?? Now all your need to do is tidy up around the edges of your body. To do so, select ‘Layer 0’ and continue using your eraser tool until you are satisfied.

Here is how your photo should look when you are all finished! Then all that’s left to do is save it. Make sure you select 100% when it asks what quality you want to save.
Once you have a few weeks completed, I like to use a website called ‘Be Funky’ to create my collage.

It is pretty straightforward so I won’t do a tutorial for that part, but I will quickly explain how I do it.
I usually make a collage of 4 photos at a time. You can do whatever amount you would prefer. I also decided flip my photos (which can be done while you are creating your collage) so they are going left to right from smallest belly to biggest belly.
Once I save all of my 4 photo collages, I just import them into Microsoft Paint to make the final long collage.
Please let me know if you liked this tutorial and if you have any questions, don’t hesitate to ask!
Thanks for reading! xox. -K
